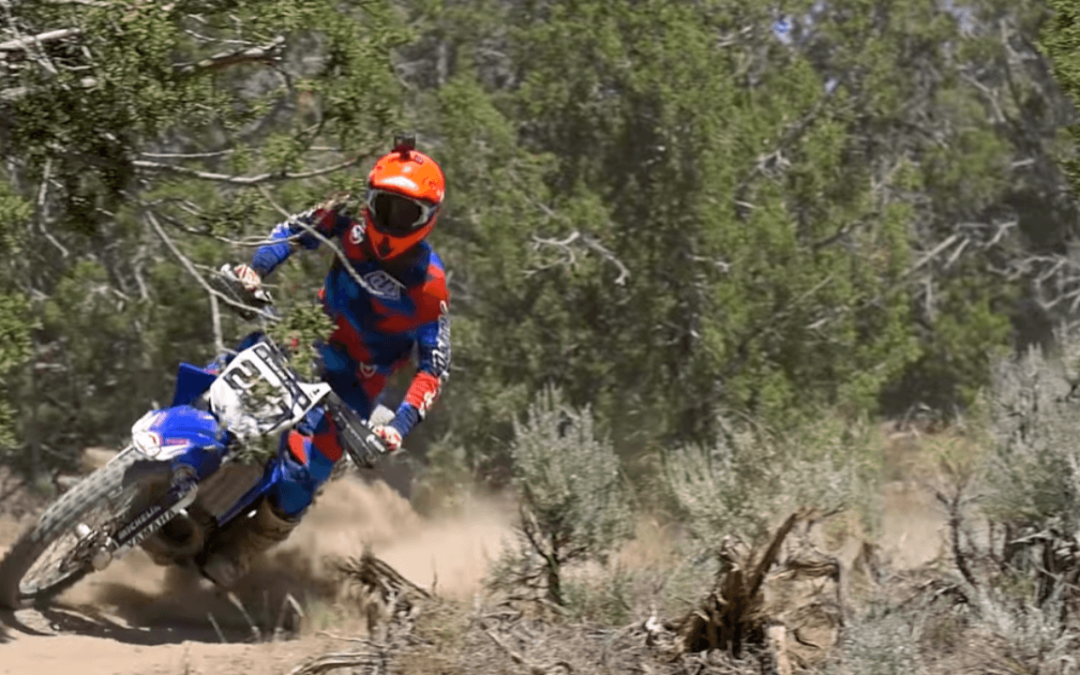
With its Jet Kit as a flagship product, JD Jetting, a well-known company in motorcycle tuning and maintenance, provides specialized items to enhance off-road motorcycles’ performance. In general, jet kits make it easier for users to regulate the amount of gasoline entering a motorbike engine’s combustion chamber, improving its overall performance. No matter the altitude or riding conditions, the JD Jetting Jet Kit is designed to provide the perfect fuel-air mixture. Motorcycle performance depends heavily on jetting because it affects the engine’s efficiency, power delivery, throttle response, and fuel consumption. Jet kits can prevent issues like engine bogging, overheating, and poor throttle response by supplying the proper fuel/air ratio.
The review of the JD Jetting Jet Kit seeks to thoroughly examine its components, installation procedure, performance enhancements, and comparisons to similar jet kits on the market. This comprehensive evaluation will enable potential customers to make an informed decision regarding the suitability and value of this kit for their specific needs.
Components of the JD Jetting Jet Kit
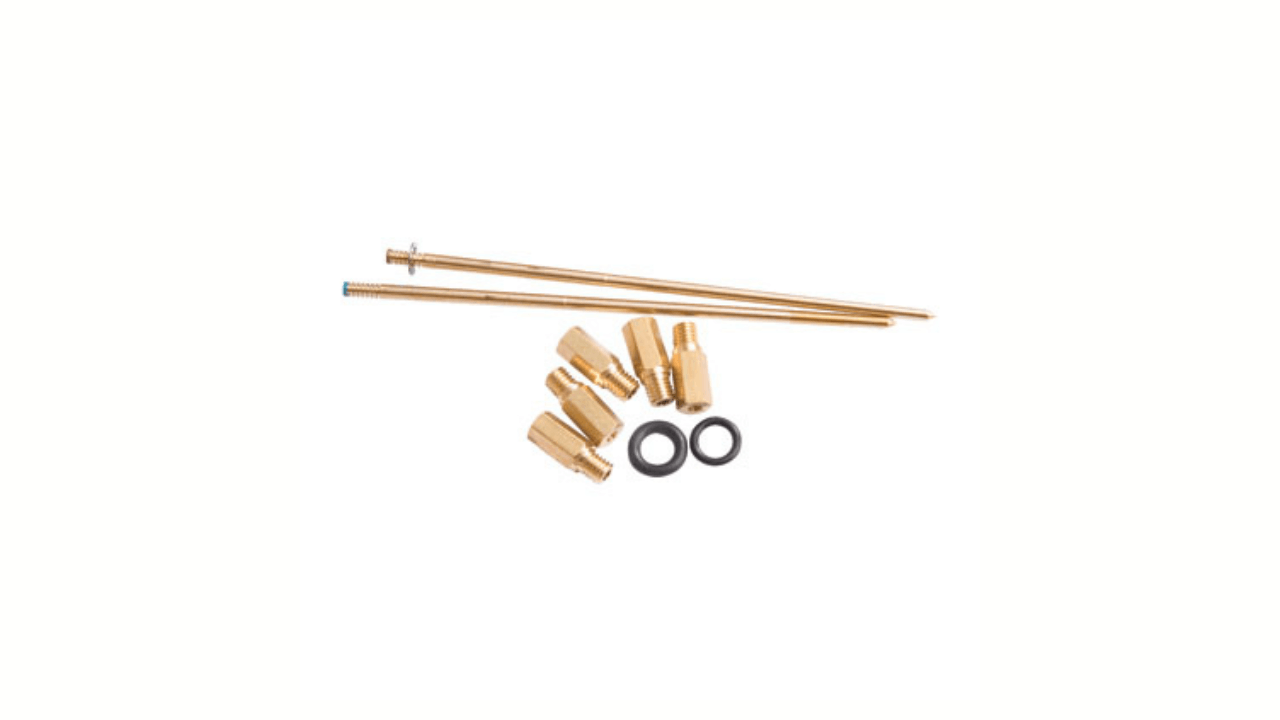
The JD Jetting Jet Kit includes various parts designed to help riders achieve the best possible performance. These parts are made for integration with the carburetor and allow for minor adjustments to the fuel-air mixture. Here is a list of all the items included in the kit:
- Keihin Main Jet – 152
- Keihin Main Jet – 158
- Keihin Main Jet – 162
- Keihin Main Jet – 165
- Keihin Pilot Jet – 38
- Keihin Needle Clip
- Blue Marked Needle (Richer Needle)
- Red Marked Needle (Leaner Needle)
Quality and compatibility of Kit
The JD Jetting has been built with a strong focus on quality and compatibility to guarantee that users can get the best performance out of their motorcycles. High-quality materials, such as brass for the jets and precision-machined steel for the needle, renowned for their sturdiness, corrosion resistance, and capacity to maintain optimal performance over time, were used to make the kit’s components.
The JD Jetting Jet Kit is made to operate effortlessly with various dirt bike models, considering different carburetor types and engine layouts. The variety of jet diameters and the needle’s adjustability, which enable customers to precisely alter their carburetor settings to match the unique needs of their bikes, are responsible for the kit’s adaptability. Regardless of the modifications to their air intake, exhaust system, or engine size, riders may obtain peak performance with this level of customization.
Review of JD Jetting Jet Kit
We experienced firsthand the improvements it brought to our motorcycle’s performance. By allowing precise control and adjustment of the fuel-air mixture in the carburetor, we noticed a more efficient combustion process, leading to better throttle response and power delivery.
Throughout our trial, we appreciated the kit’s meticulous adjustment options, which included a range of main jets, pilot jets, and an adjustable needle with multiple clip positions. This level of customization enabled us to fine-tune the carburetor settings to match our specific riding conditions, such as altitude and temperature, and the modifications made to our motorcycle.
The JD Jetting Jet Kit is highly compatible with various models, covering popular brands such as Honda, Yamaha, Kawasaki, and KTM. This broad compatibility allowed riders like us to benefit from the performance-enhancing features of the kit, regardless of the brand or model of our motorcycles.
Our testing also revealed the high-quality components used in the JD Jetting Jet Kit. The durable, corrosion-resistant materials ensured the longevity and reliability of the kit, which means riders can expect a significant return on their investment. We were pleased that the equipment could withstand extensive use and deliver performance improvements over an extended period.
As for installation, JD Jetting made the process user-friendly. In our experience, the kit came with detailed instructions and a tuning guide that guided us through the installation process and provided valuable insights into optimizing carburetor settings based on various riding conditions. This support allowed even our less experienced team members to confidently install and adjust the kit, making it an excellent choice for many off-road enthusiasts.
What do other users think about JD Jetting Jet Kit?
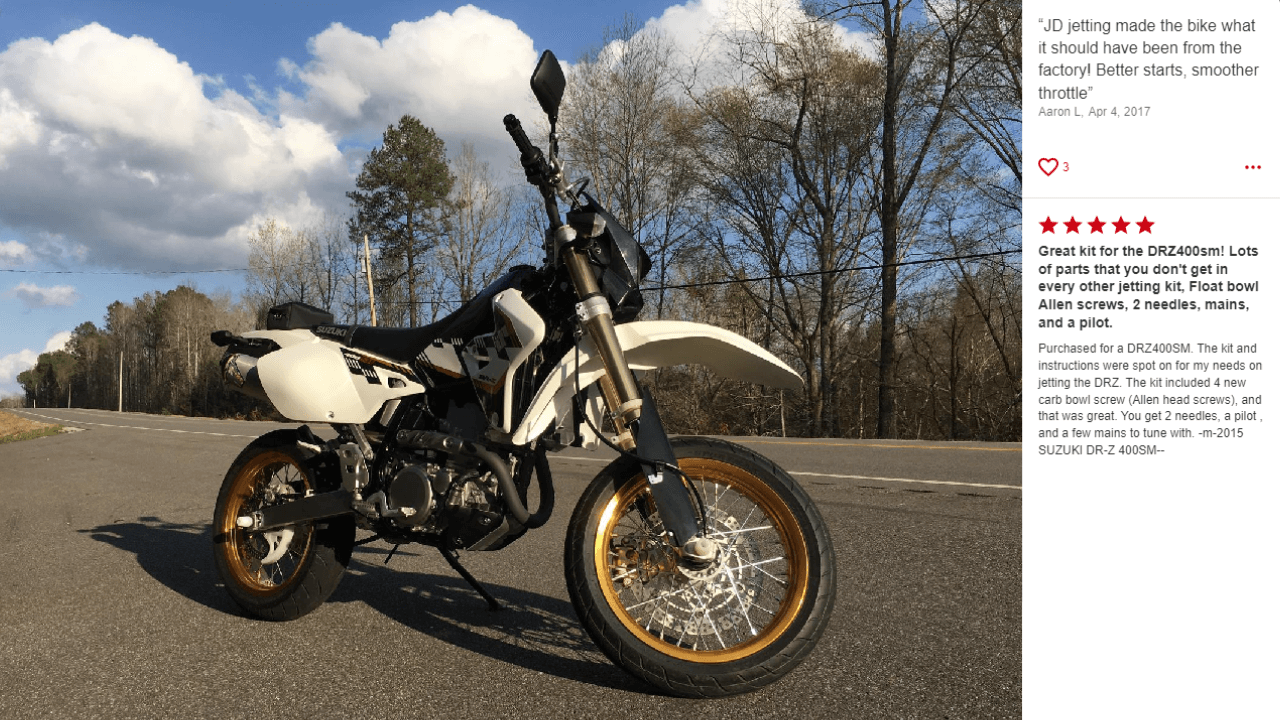
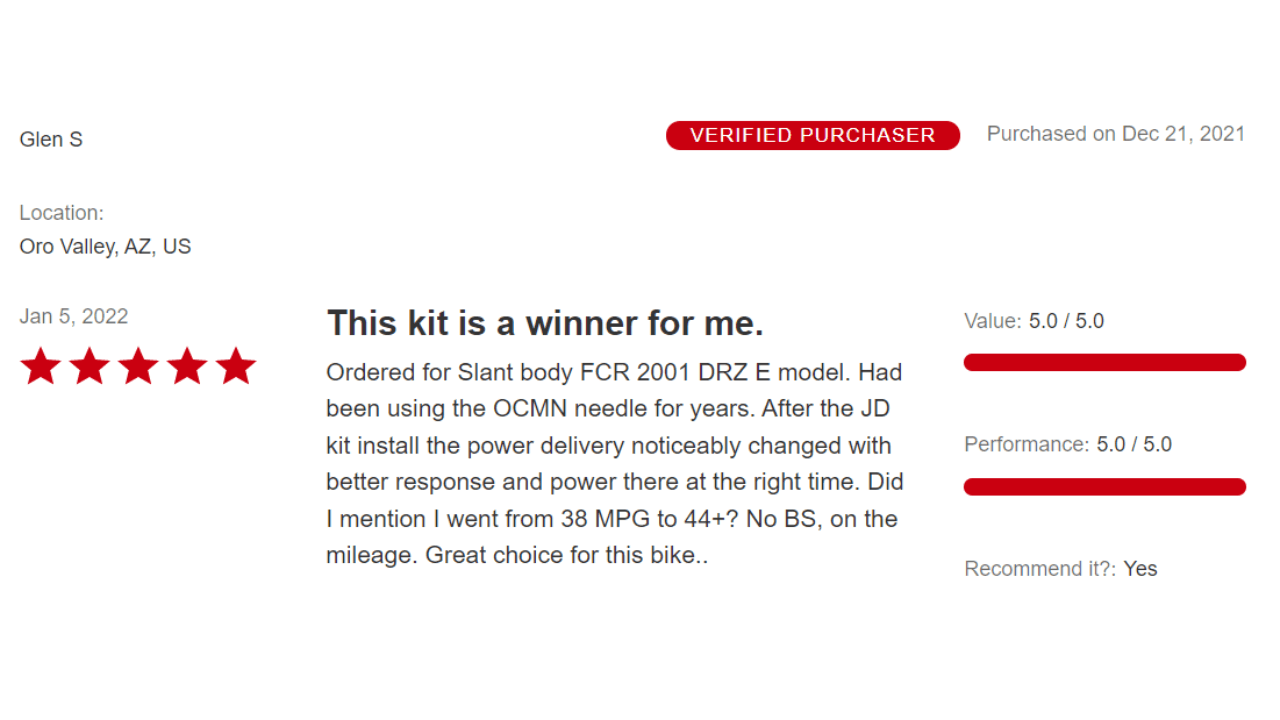
Many off-road enthusiasts have some good words about this Kit. You can find more reviews of JD Jetting Jet Kit, and here are is few of them:
User: Michael
Title: Great Kit, Instant Results
Rating: 5 out of 5 stars
Review: “Installed on my 300XC and saw instant results. Throttle response was better, and power delivery was more linear. Instructions were clear and easy to follow.”
User: Chris
Title: Best Upgrade I Have Made
Rating: 5 out of 5 stars
Review: “I have a 2008 CRF450X, and this kit has been my best upgrade. The throttle response is perfect and starts more easily. Installation was simple, and the instructions were great.”
User: Jason
Title: Worth Every Penny
Rating: 5 out of 5 stars
Review: “Installed on my 2015 KTM 250 SX-F, and it was worth every penny. Eliminated the mid-range bog and improved overall performance. Installation was straightforward, and the instructions were easy to follow.”
Installation Process of JD Jetting Jet Kit
Even bikers with little knowledge of carburetor adjustment will find the JD Jetting Jet Kit installation process straightforward. The general steps for installing the kit are outlined in the sections below:
- Ensure the motorcycle is turned off and parked on a level surface before starting the installation. Having a clean workspace and the appropriate tools close at hand is also a good idea.
- To access the carburetor, you may need to remove the seat, fuel tank, or side panels, depending on your motorcycle’s model. Refer to the service manual to determine how to access the carburetor on your bike.
- Carefully disconnect the throttle cables, fuel line, and other connections before removing the carburetor. Next, take the motorcycle’s carburetor out.
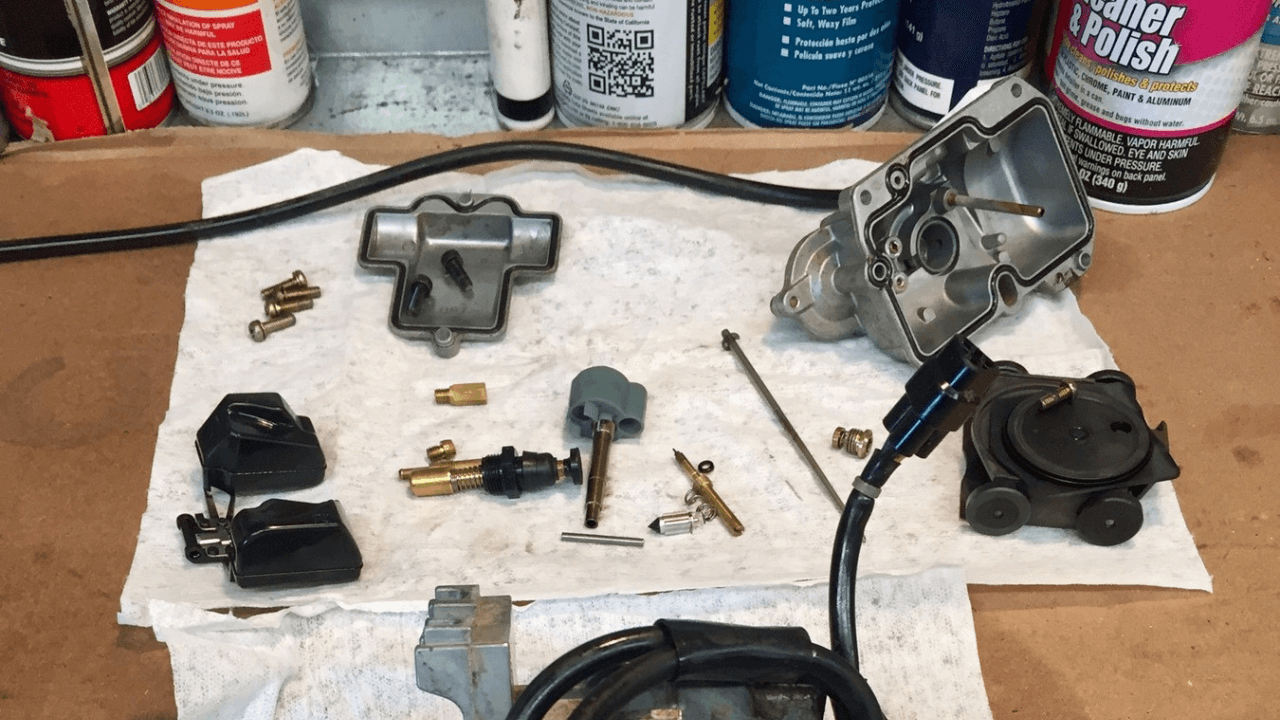
- Carefully disassemble the carburetor by removing the float bowl, float, and float needle after taking out the carburetor itself. Take care not to damage any components while performing this step.
- Install the new parts: Refer to the comprehensive instructions included with the JD Jetting Jet Kit for specific information regarding the main jet, pilot jet, and needle clip positions for your particular motorcycle model and riding conditions. Replace the factory components with the new ones from the kit.
- Reassemble the carburetor: Carefully put the carburetor back together, ensuring all parts are seated and fastened. As the float height can affect the fuel-air mixture and overall performance, make sure it is set correctly.
- Reinstall the carburetor: Reconnect the fuel line, throttle cables, and any other connections before reinstalling the carburetor on the motorcycle. Ensure that every connection is secure and properly tightened.
- Replace any removed components, such as the fuel tank, seat, or side panels, ensuring they are securely fastened and installed.
- Tuning and adjustments: Once the installation is complete, consult the tuning documentation included with the JD Jetting Jet Kit to make any adjustments required based on your riding conditions and preferences. This may involve adjusting the air/fuel screw or positioning the needle clip for optimal performance.
- Test ride: After installation and adjustment, ride your motorcycle to ensure everything works correctly and that the performance improvements are noticeable. Make any additional adjustments if needed.
Pros and cons
Pros | Cons |
1. Improved motorcycle performance | 1. Learning curve |
2. Meticulous adjustment options | 2. Cost |
3. High compatibility | 3. Time-consuming installation |
4. High-quality components | |
5. User-friendly installation |
FAQ About JD Jetting Jet Kit
Q: What performance enhancements can I expect once I install the JD Jetting Jet Kit on my bike?
A: The throttle response, overall power, and performance of your bike can be significantly enhanced by the JD Jetting Jet Kit, especially in a variety of riding environments and altitudes.
Q: Is the JD Jetting Jet Kit easy to install and adjust?
A: Yes, the JD Jetting Jet Kit comes with comprehensive instructions that simplify installation and adjustment for most users, regardless of their mechanical expertise.
Q: Does the JD Jetting Jet Kit include a variety of jets for various riding conditions?
The package includes multiple main jets, two needles, and a pilot jet to help you find the ideal combination for your riding conditions and bike model.
Q: Is there anything else I need to install the JD Jetting Jet Kit on my bike?
Although the kit works with most bikes, some customers have reported that certain models require an additional fuel screw. Verify compatibility with your bike before making a purchase.
Final Thoughts
After extensively testing and evaluating the JD Jetting Jet Kit, we can confidently say that it is a worthwhile addition to any motorcycle, particularly for riders looking to improve their bike’s performance. This kit significantly enhances throttle response and power delivery and promotes more efficient combustion by enabling precise adjustments to the fuel-air mixture in the carburetor. Thanks to the kit’s thorough adjustment options, which include a variety of main jets, pilot jets, and an adjustable needle with different clip positions, riders can precisely modify their carburetor settings to accommodate unique riding situations and modifications.
A standout feature of the kit is its comprehensive instructions, making installation accessible even for individuals without extensive mechanical knowledge. These instructions ensure the installation is done correctly and safely, which is essential for achieving the desired performance gains.

